Learn to Build a Photo Captioning Streamlit Application with Amazon Bedrock LLMs
Search for a command to run...
No comments yet. Be the first to comment.
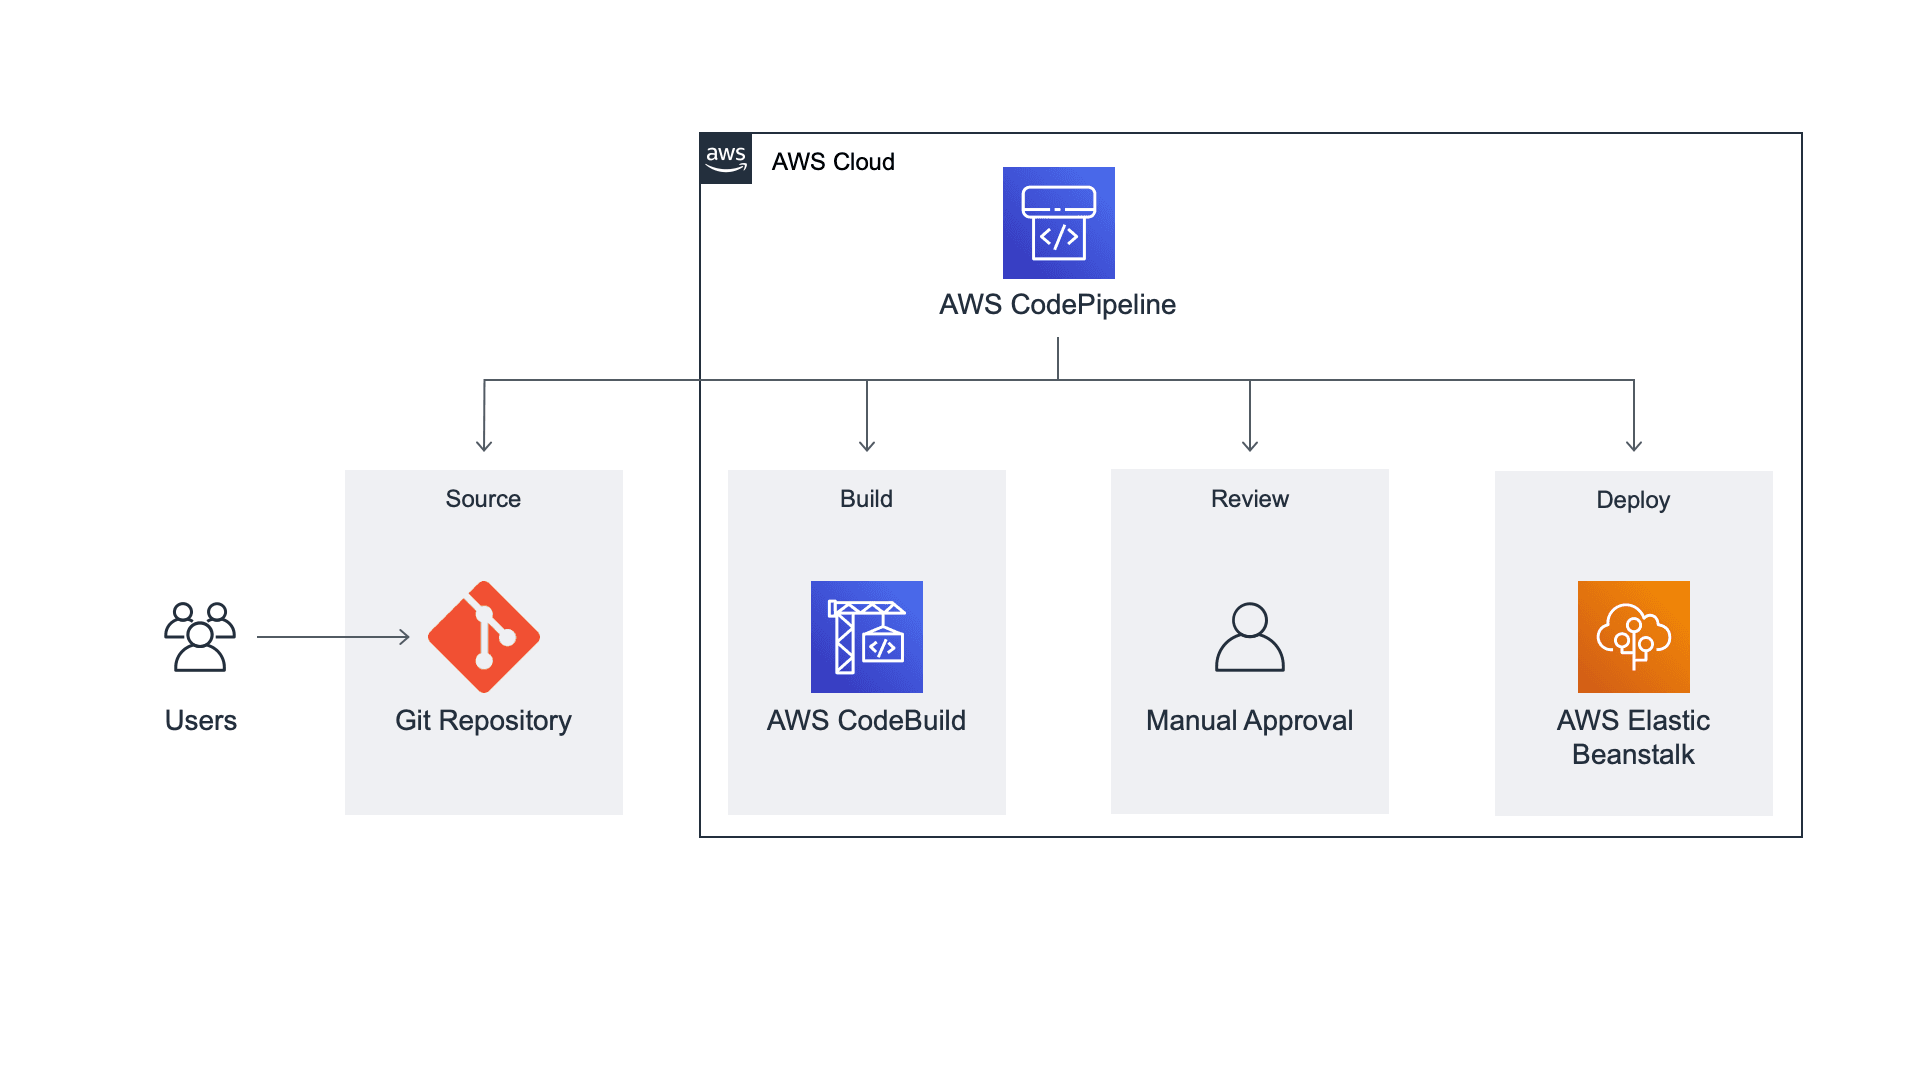
During this AWS hands-on tutorial, I had the opportunity to dive into the details of setting up a continuous delivery pipeline using AWS services. Here are my key takeaways and learnings from this experience: Understanding Continuous Delivery: Gain...
Windows is the most user-friendly operating system for PCs and laptops, at least in my personal opinion, but iPhones are better than Android when it comes to smooth user interaction. To create smooth and vibrant iOS apps, and use software that is OS-...

In my recent hands-on experience with AWS, I completed an insightful tutorial on building a serverless web application using several key AWS services: AWS Lambda, Amazon API Gateway, Amazon S3, Amazon DynamoDB, and Amazon Cognito. This project provid...

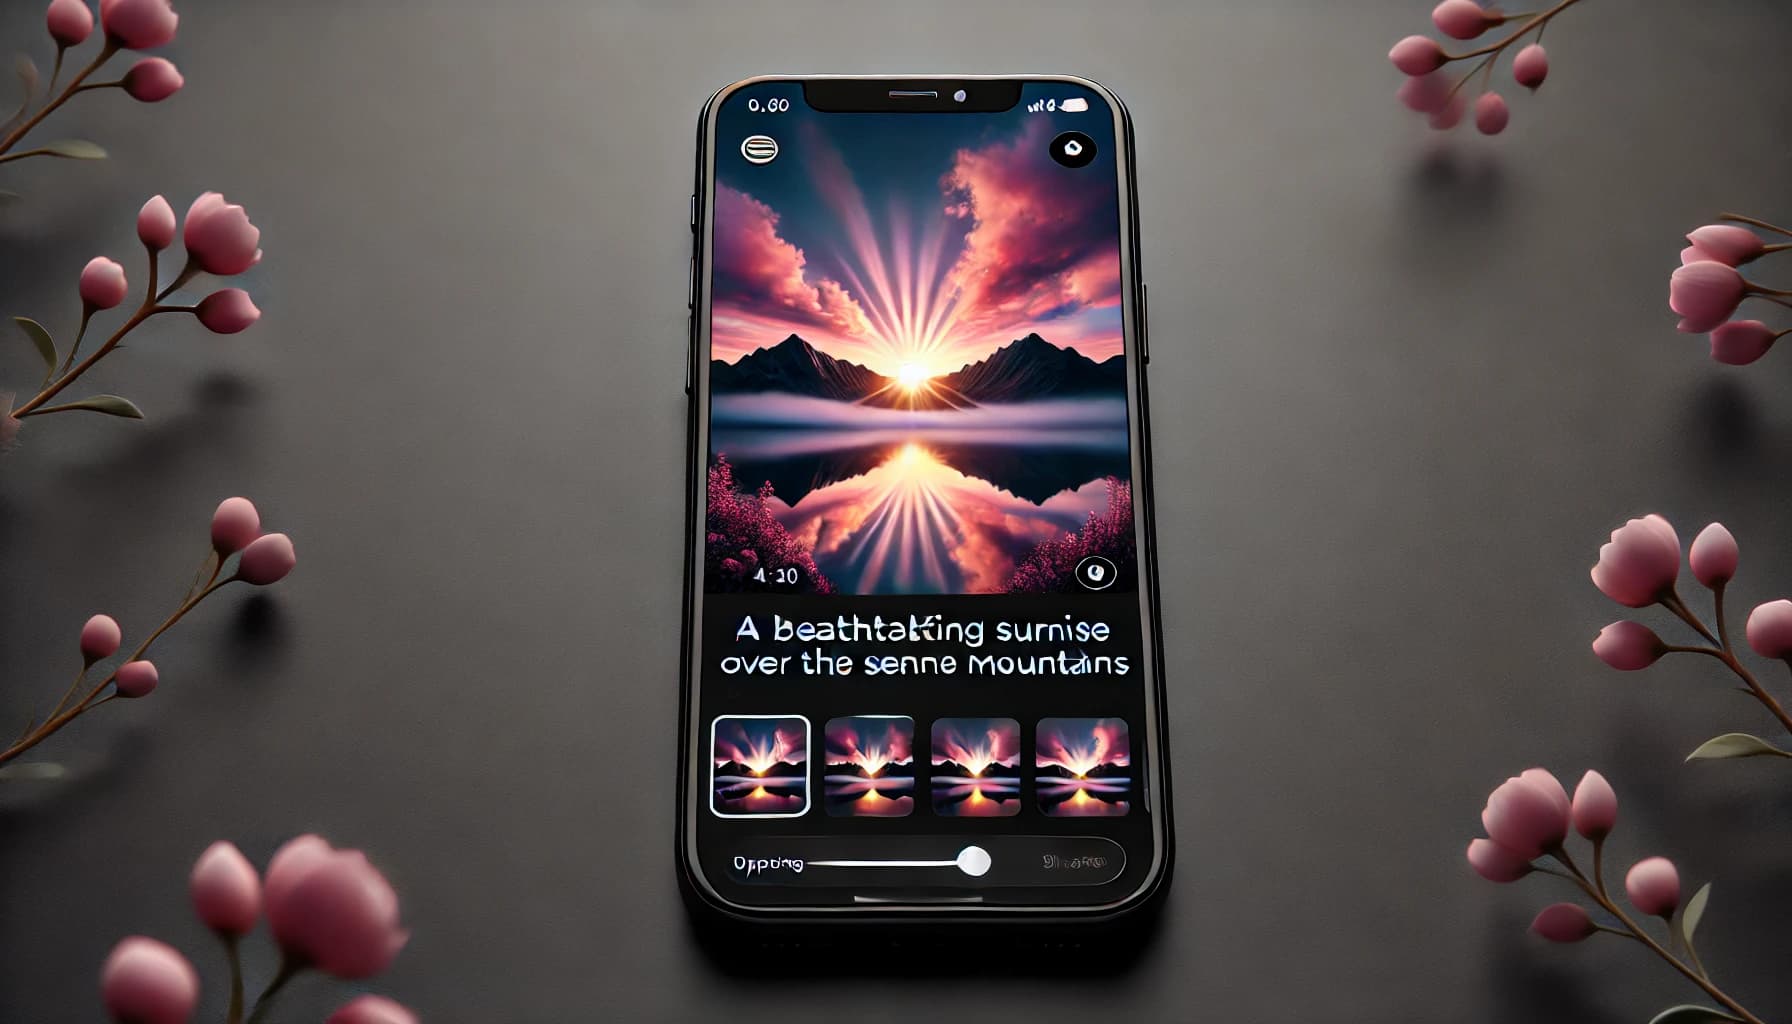
In this article, we will walk through how to create an AI-powered photo captioning app. First, let's create our app.
You can download the code for the app from the following GitHub repository:
https://github.com/Vivek-Rathee/PhotoCaptioner
But before deploying, let's understand what's happening inside the AIPCWA.py file.
First, you import the necessary packages mentioned in the file. You will need to pip install these packages if you don't already have them on your system.
Then set the page configurations for Streamlit, and load the CLIP model and processor. Next, add an AWS profile that has the necessary permissions to access AWS Rekognition and Bedrock, and create clients for the respective services.
Add a modelID of the LLM you would like to use, which you can find on the AWS Bedrock models page.
Create a function that converts the uploaded images to bytes and calls Rekognition to detect labels.
Next, refine the caption based on the user's choice of platform. Create the body as a dictionary, then serialize it to JSON and encode it as bytes. Read and decode the response, extract the refined caption from the response, and remove any prefatory text.
At last, create your Streamlit app, and with it, you have a functioning code for your AI-enhanced photo captioning app.
Test locally using VS Code with "streamlit run yourAppName.py". You'll need to configure the profile you mentioned in the code. You can use the AWS extension for configuring your profile in VS Code.
OS: Amazon AMI Linux 2023
Network/Security Group: Allow internet access on ports 80, 443, and 8501 (port on which streamlit runs)
Storage: 100GB (as dependencies need space)
Switch to the root user:
sudo su
Update all installed packages to their latest version:
yum update -y
Upgrade the operating system to the latest release:
yum upgrade -y
Create a Python virtual environment:
python3 -m venv venv
Activate the Python virtual environment:
source venv/bin/activate
Install the Python package installer (pip):
yum install -y python3-pip
Install specific versions of PyTorch and related libraries:
python3 -m pip install torch==1.13.1 torchvision==0.14.1 torchaudio==0.13.1 --index-url https://download.pytorch.org/whl/cpu
Install Streamlit, ignoring any previously installed versions:
python3 -m pip install --ignore-installed streamlit
Install Boto3, the Amazon Web Services (AWS) SDK for Python:
python3 -m pip install boto3
Install Pillow, a Python Imaging Library (PIL) fork:
python3 -m pip install pillow
Install the Transformers library:
python3 -m pip install transformers
Install Git:
yum install git
Clone the PhotoCaptioner repository:
git clone https://github.com/Vivek-Rathee/PhotoCaptioner.git
Navigate to the project directory:
cd PhotoCaptioner
Configure AWS CLI with your user profile:
aws configure --profile YourUserProfile
Follow the prompts to enter your AWS credentials:
Access Key ID [None]: Your Access Key ID
AWS Secret Access Key [None]: Your Secret Access Key
Default region name [None]: us-east-1
Default output format [None]: json
Install nginx:
yum install nginx -y
Install Certbot:
yum install certbot -y
Stop nginx:
sudo systemctl stop nginx
Obtain SSL certificates for your domain:
sudo certbot certonly --standalone -d yourdomain.com
Clear and edit nginx configuration file:
sudo sh -c 'echo -n > /etc/nginx/nginx.conf'
nano /etc/nginx/nginx.conf
Edit the nginx configuration file:
user nginx;
worker_processes auto;
error_log /var/log/nginx/error.log;
pid /run/nginx.pid;

events {
    worker_connections 1024;
}

http {
    include /etc/nginx/mime.types;
    default_type application/octet-stream;

    log_format main '$remote_addr - $remote_user [$time_local] "$request" '
                      '$status $body_bytes_sent "$http_referer" '
                      '"$http_user_agent" "$http_x_forwarded_for"';

    access_log /var/log/nginx/access.log main;

    sendfile on;
    keepalive_timeout 65;
    include /etc/nginx/conf.d/*.conf;

    map $http_upgrade $connection_upgrade {
        default upgrade;
        '' close;
    }

    upstream backend {
        server 127.0.0.1:8501;
        keepalive 64;
    }

    server {
        listen 80;
        server_name aipc.vivekrathee.com;

        location / {
            return 301 https://$host$request_uri;
        }
    }

    server {
        listen 443 ssl;
        server_name aipc.vivekrathee.com;

        ssl_certificate /etc/letsencrypt/live/yourdomain.com/fullchain.pem;
        ssl_certificate_key /etc/letsencrypt/live/yourdomain.com/privkey.pem;

        location / {
            proxy_pass http://backend;
            proxy_http_version 1.1;
            proxy_set_header Upgrade $http_upgrade;
            proxy_set_header Connection $connection_upgrade;
            proxy_set_header Host $host;
            proxy_cache_bypass $http_upgrade;
            proxy_set_header X-Real-IP $remote_addr;
            proxy_set_header X-Forwarded-For $proxy_add_x_forwarded_for;
            proxy_set_header X-Forwarded-Proto $scheme;
            client_max_body_size 20M;  # Adjust this value as necessary
        }
    }

    types_hash_max_size 2048;
    types_hash_bucket_size 128;
}
Restart nginx:
sudo systemctl restart nginx
Enable nginx to start on boot:
sudo systemctl enable nginx
Create a new file namedrun_streamlit.sh in the same directory:
nano run_streamlit.sh
Add the following content to the file:
while true
do
    nohup streamlit run AIPCWA.py &
    wait $!
    sleep 5
done
Make the shell script executable:
chmod +x run_streamlit.sh
Install tmux:
sudo yum install tmux
Create a new tmux session namedstreamlit_session:
tmux new -s streamlit_session
Run the shell script in the background:
nohup ./run_streamlit.sh > streamlit.log 2>&1 &
Detach from the tmux session by pressing Ctrl+b followed by d.
Conclusion: After following the above prcess you should have an AI powered Photo Captioning app running on your custom domain (like the one you can use here https://aipc.vivekrathee.com/).